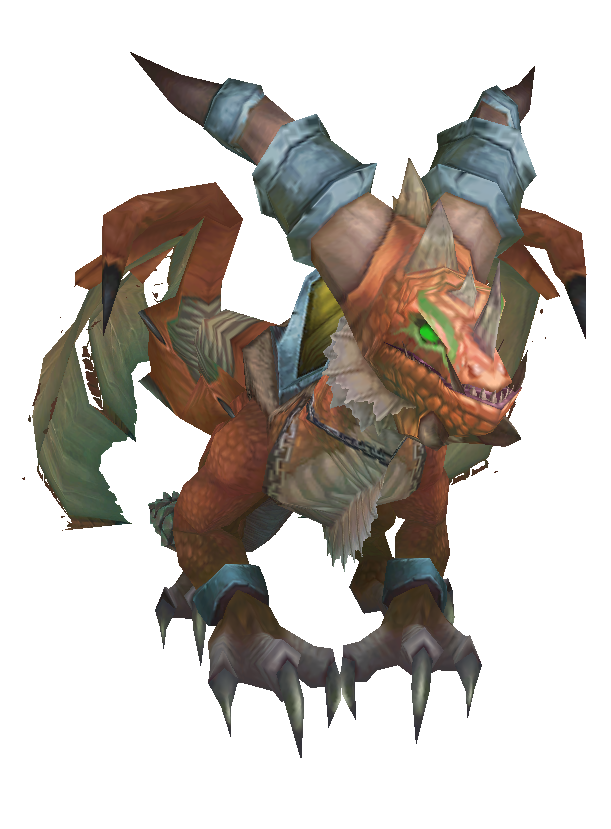
Reins of the Blazing Drake
Family: Dragon
Type: Rare Drop
Faction: Both
Zone: Caverns of Time / Dragon Soul
Dropped By: Madness of Deathwing
Recommended Level: Level 100
Skill Level: 3/10
Time Per Run: 20 Minutes
Drop Chance: 1%
Guide
The Reins of the Blazing Drake can drop from Madness of Deathwing in Dragon Soul on roughly a 1% drop rate. Raid difficulty or raid size does not change the drop chance of this mount (excluding LFR). Also in this raid can drop the Experiment 12-B and the Life-Binder’s Handmaiden.
The entrance to Dragon Soul can can be found in the Caverns of Time in Tanaris. A portal was added to the portal room in Orgrimmar and Stormwind, for Horde you’ll need to go to the lower section of the portal room to find it.
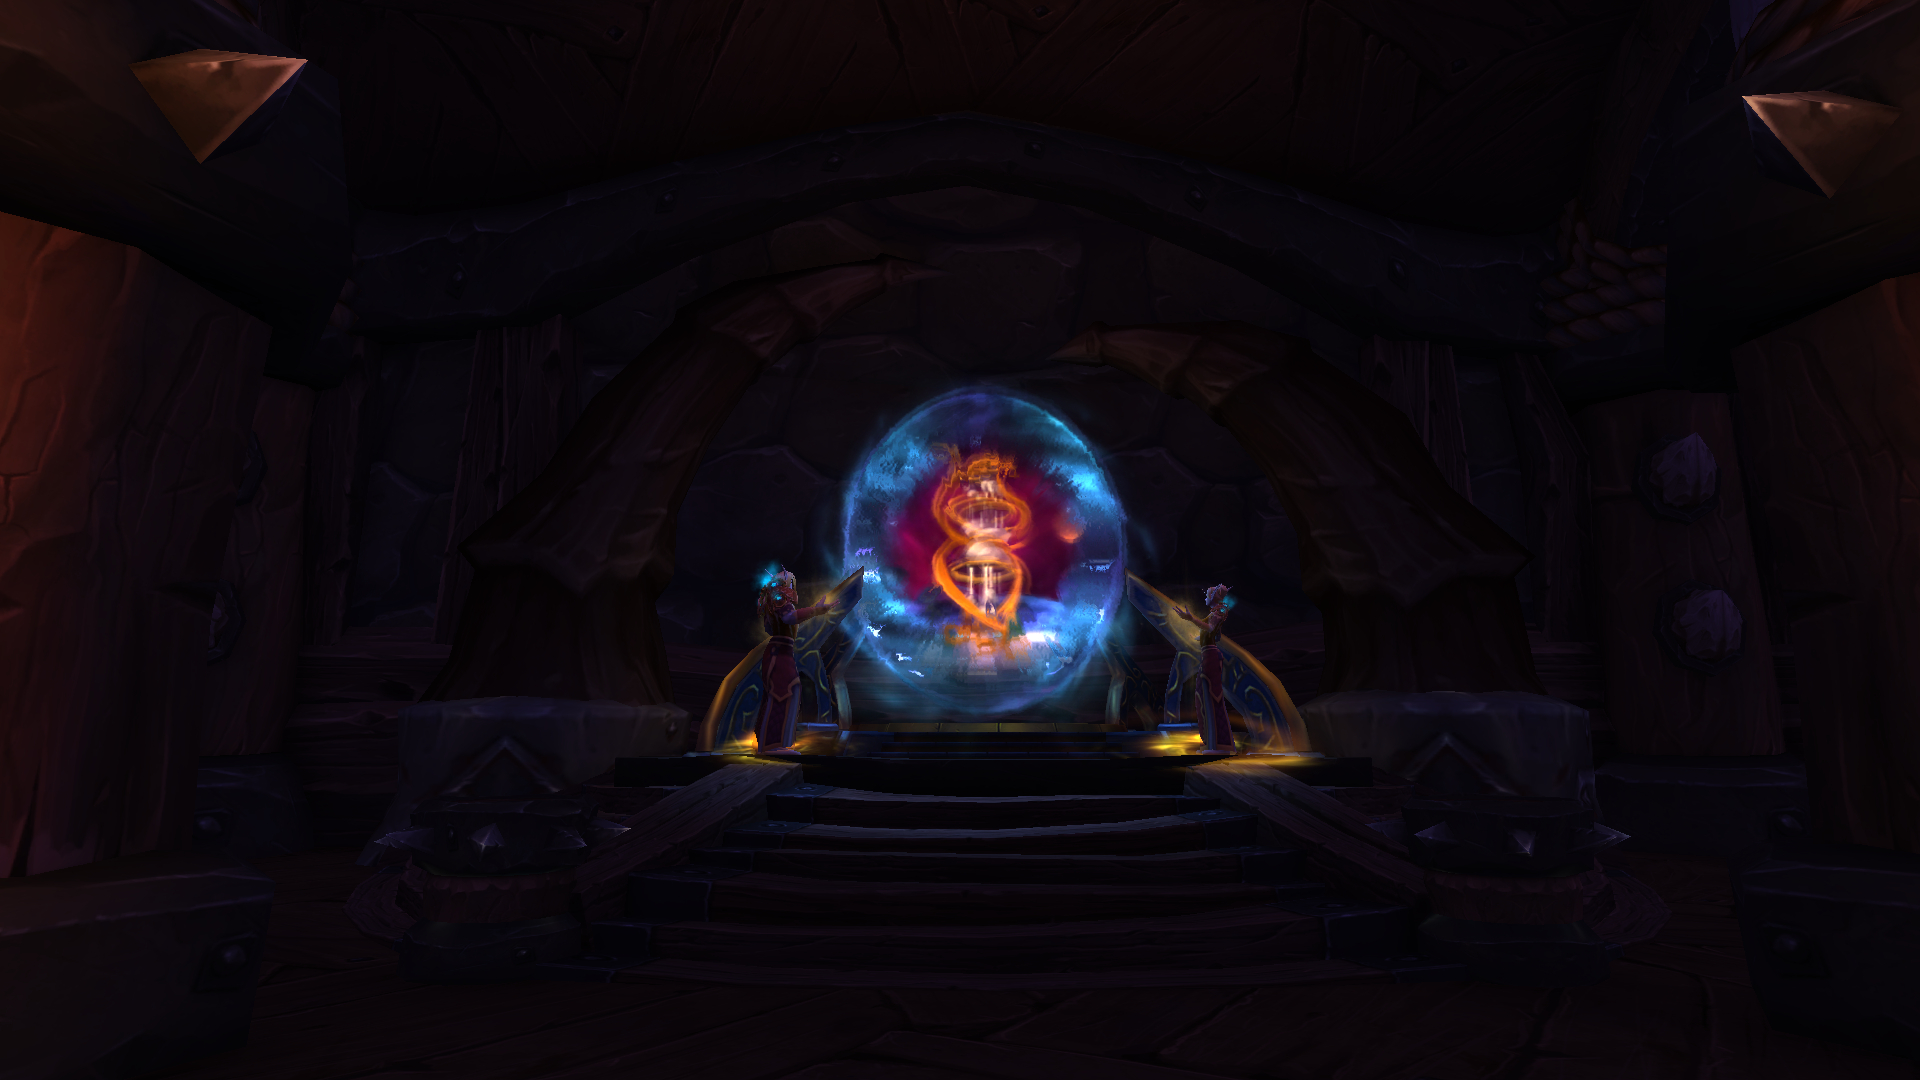
Once at the Caverns of Time, follow the path down to the main section of the Caverns of Time where multiple Dungeon and Raid entrances are located. The raid will be on your right side.
Madness of Deathwing is the last boss of the raid and unfortunately you must defeat all the previous bosses to reach Madness of Deathwing.
For the most part the bosses in this raid are trivial for a character at or above level 100 apart from Spine of Deathwing which can be somewhat tricky. Reaching some the various bosses though may pose confusing.
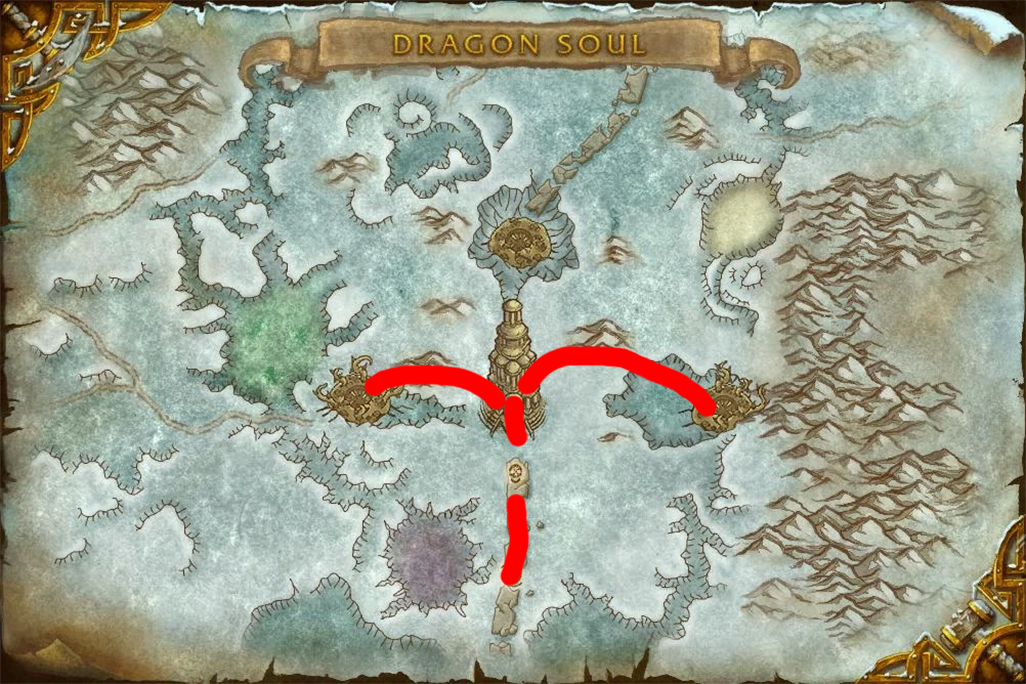
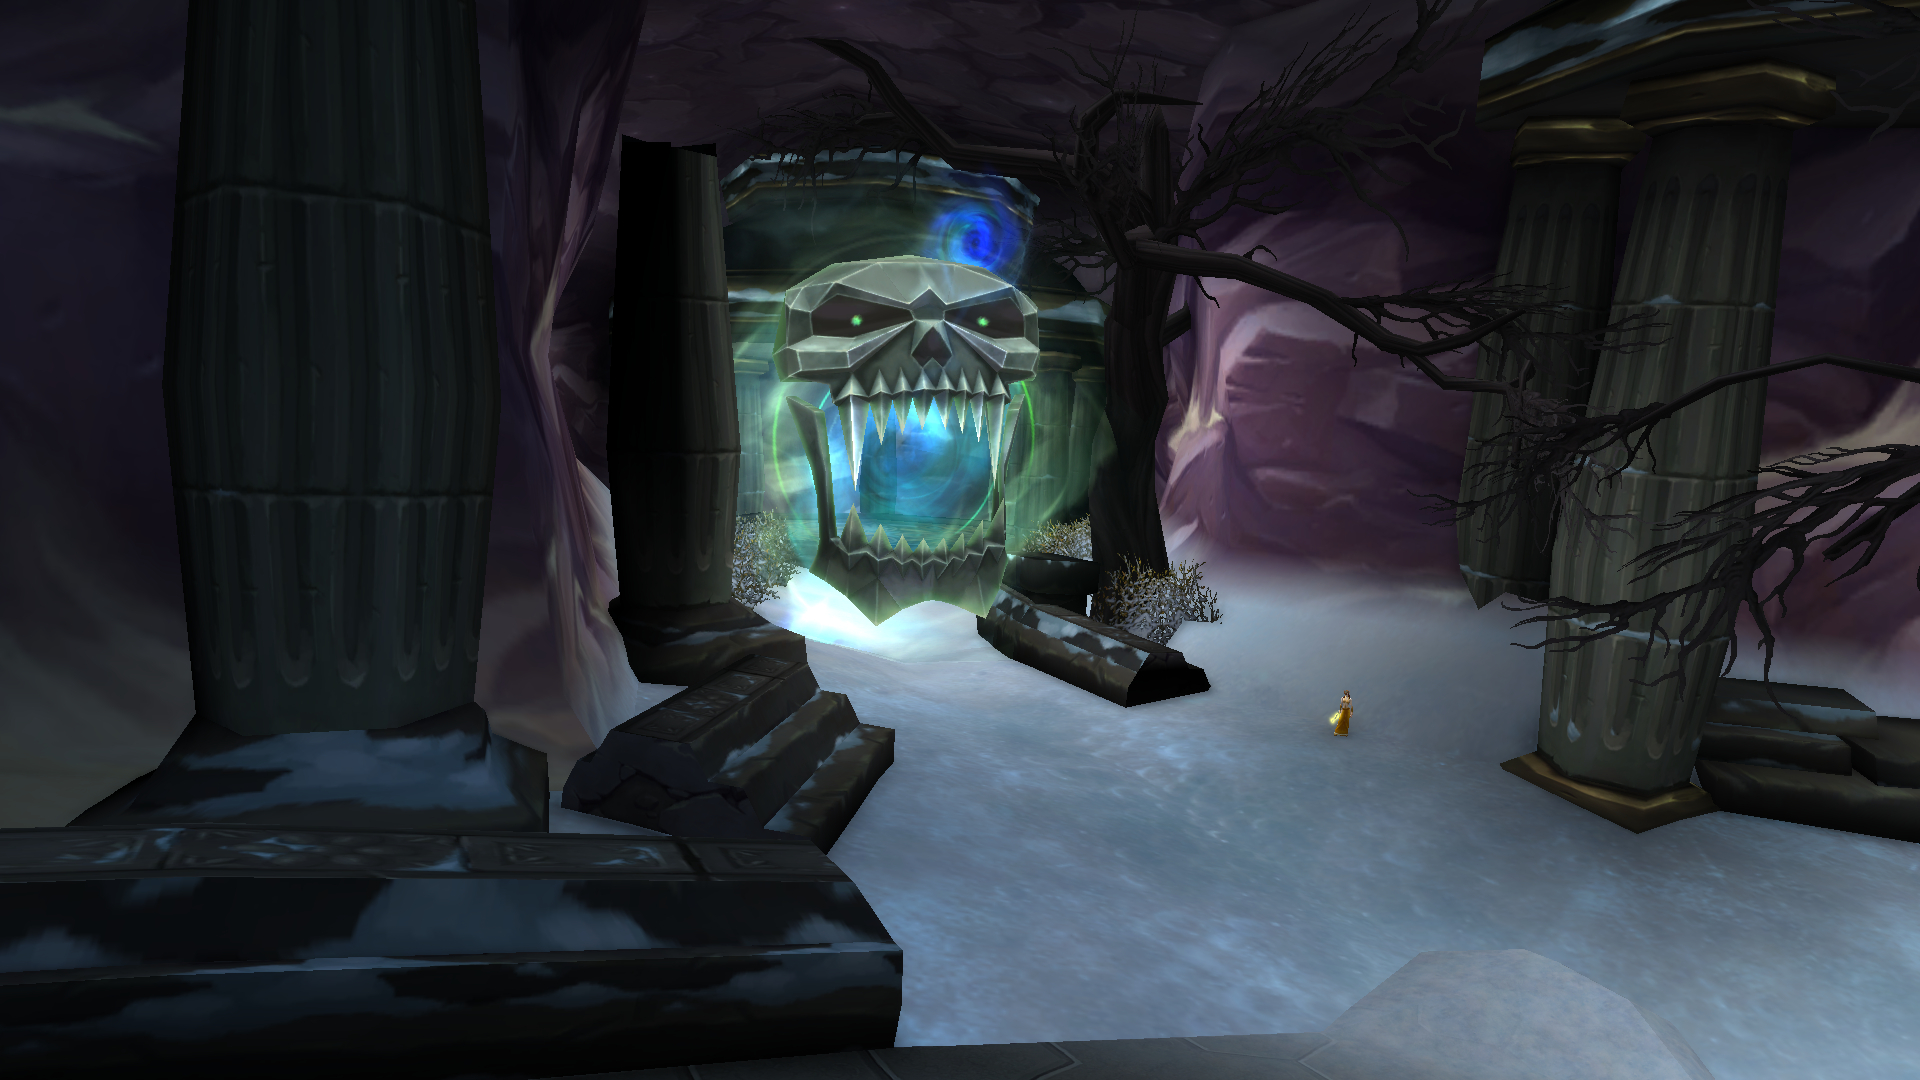
Defeating the first boss is simply just running straight after entering until you reach Morchok. After that head inside to Wyrmrest Temple and on your left and right you will notice a drake illuminated in light. Each of these drakes will take you to a boss and both must be defeated before you can proceed.
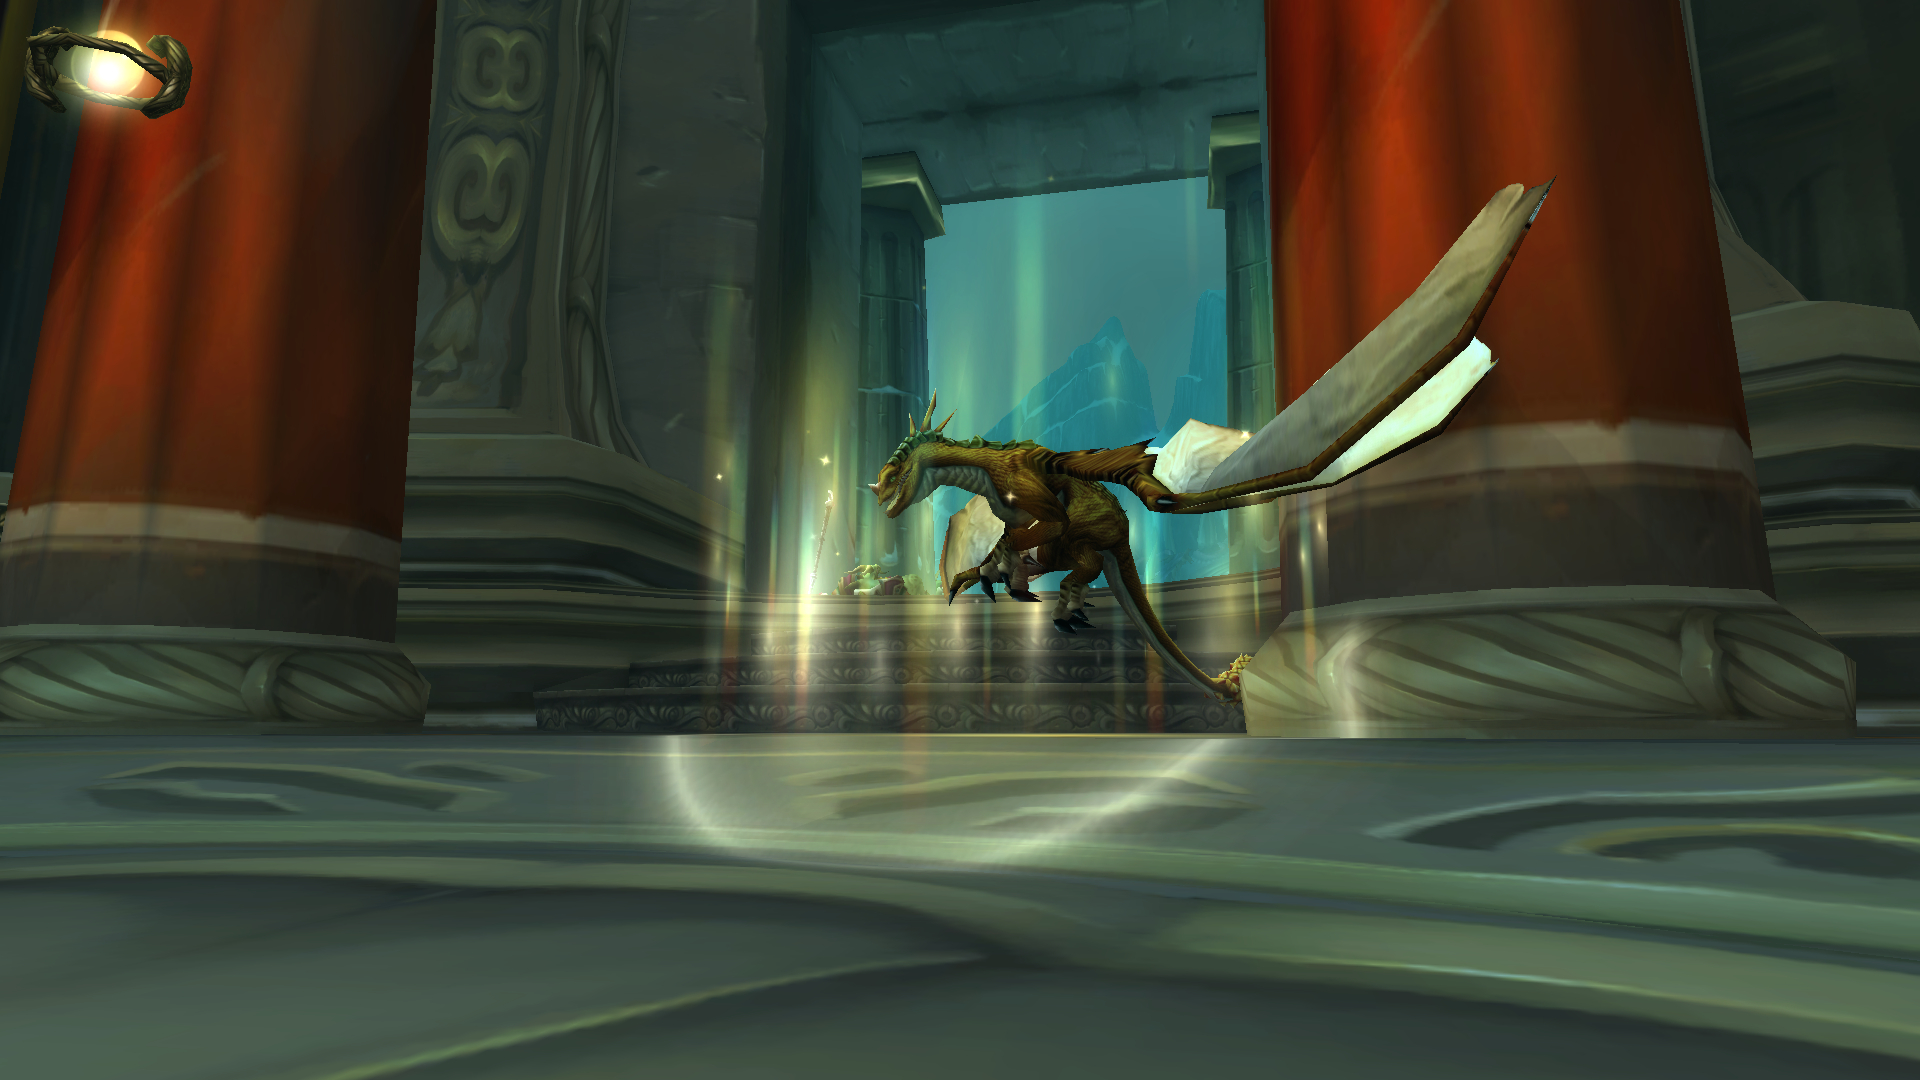
Once you have the first three bosses defeated you will be returned to Wyrmrest Temple once more. Here you will now find a Red Drake in the center, this will take you to the top of the temple.

At the top of the temple you will speak to Kalecgos, this will open a portal taking you to the 4th boss after a bit of RP. Once inside the portal, click on the Focusing Iris in the center to begin the waves and trash and to eventually spawn the 4th boss, once defeated you can leave.

You will be back at the top of Wyrmrest Temple once more. Continue the dialogue with the NPCs here and eventually you will be able to talk to Thrall to begin the next wave of trash, which will lead into the spawning of Ultraxion.
Defeat Ultraxion and proceed onto the ship, speak to the NPC here to get the ship moving and again after that to engage Warmaster Blackhorn. This fight is another simple one, defeat the adds until the boss spawns and stand in the large purple swirly on the ground to reduce the ships damage taken.
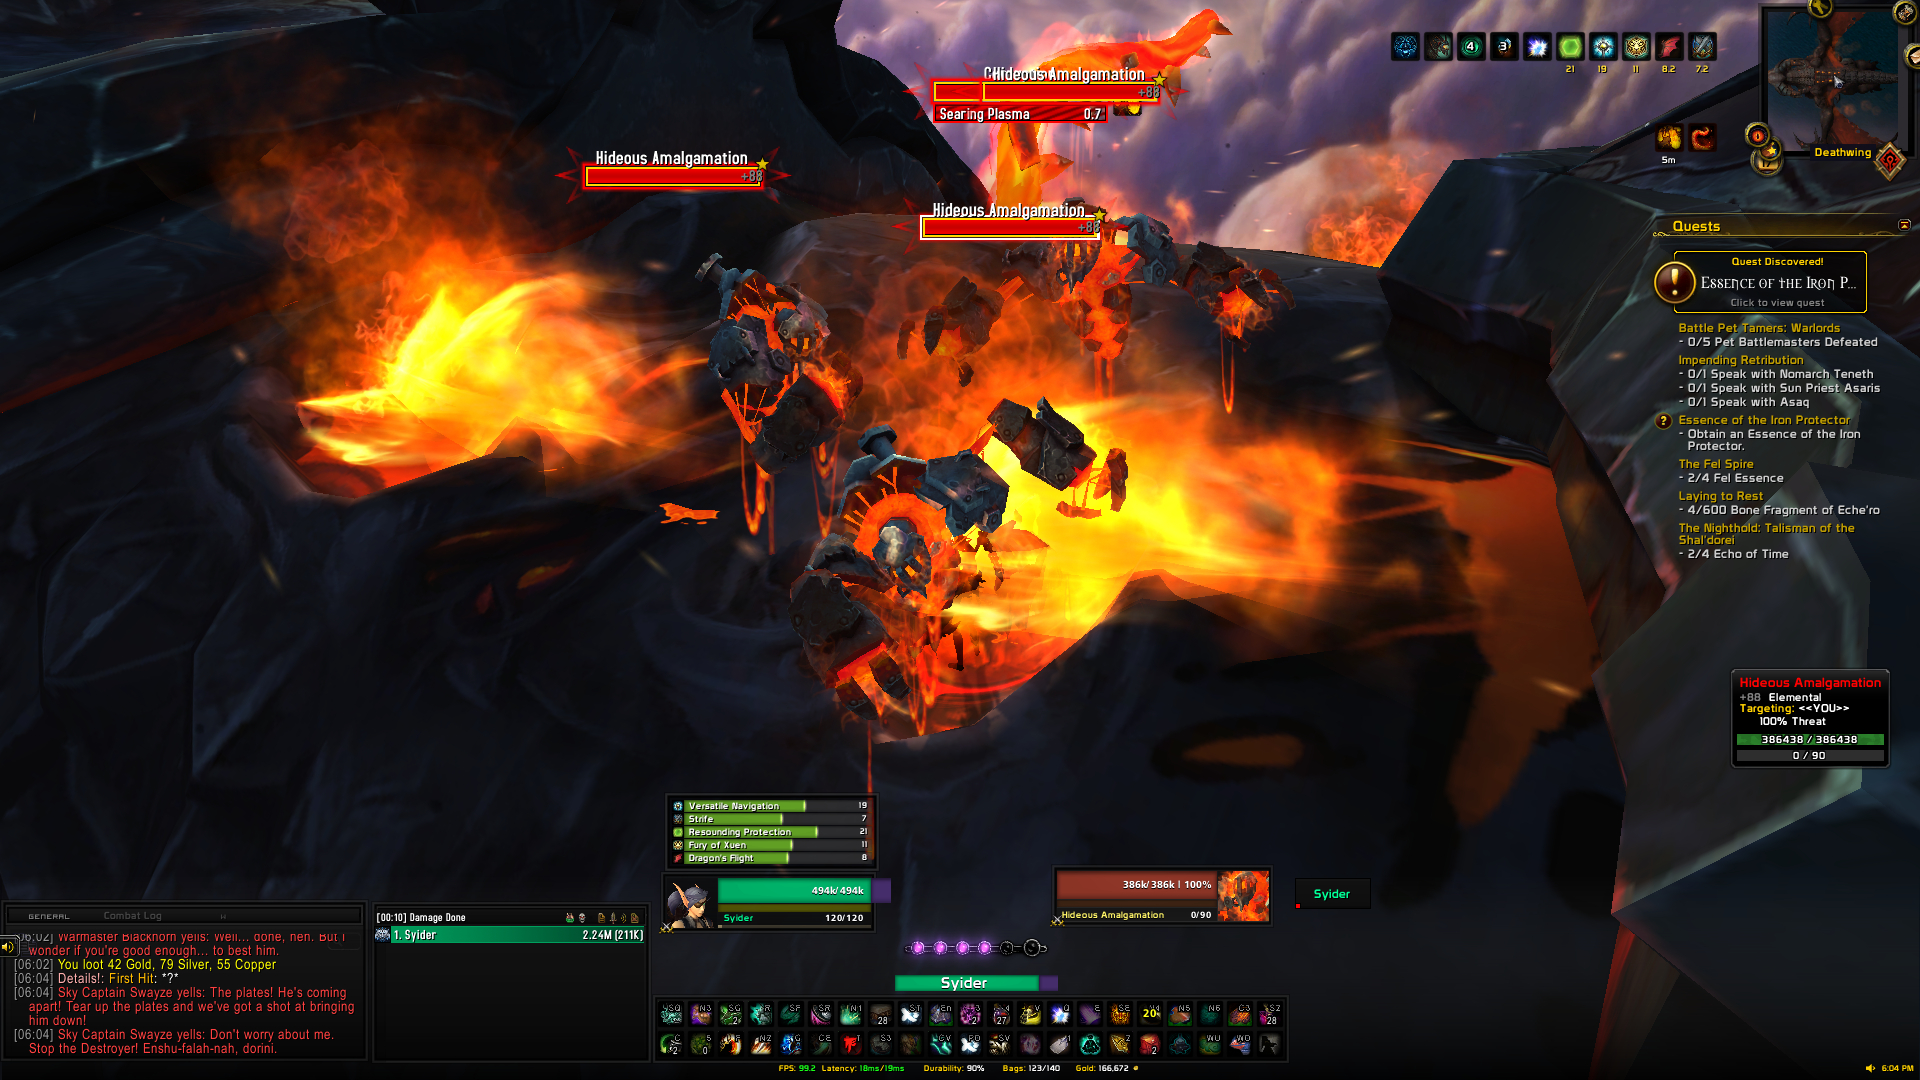
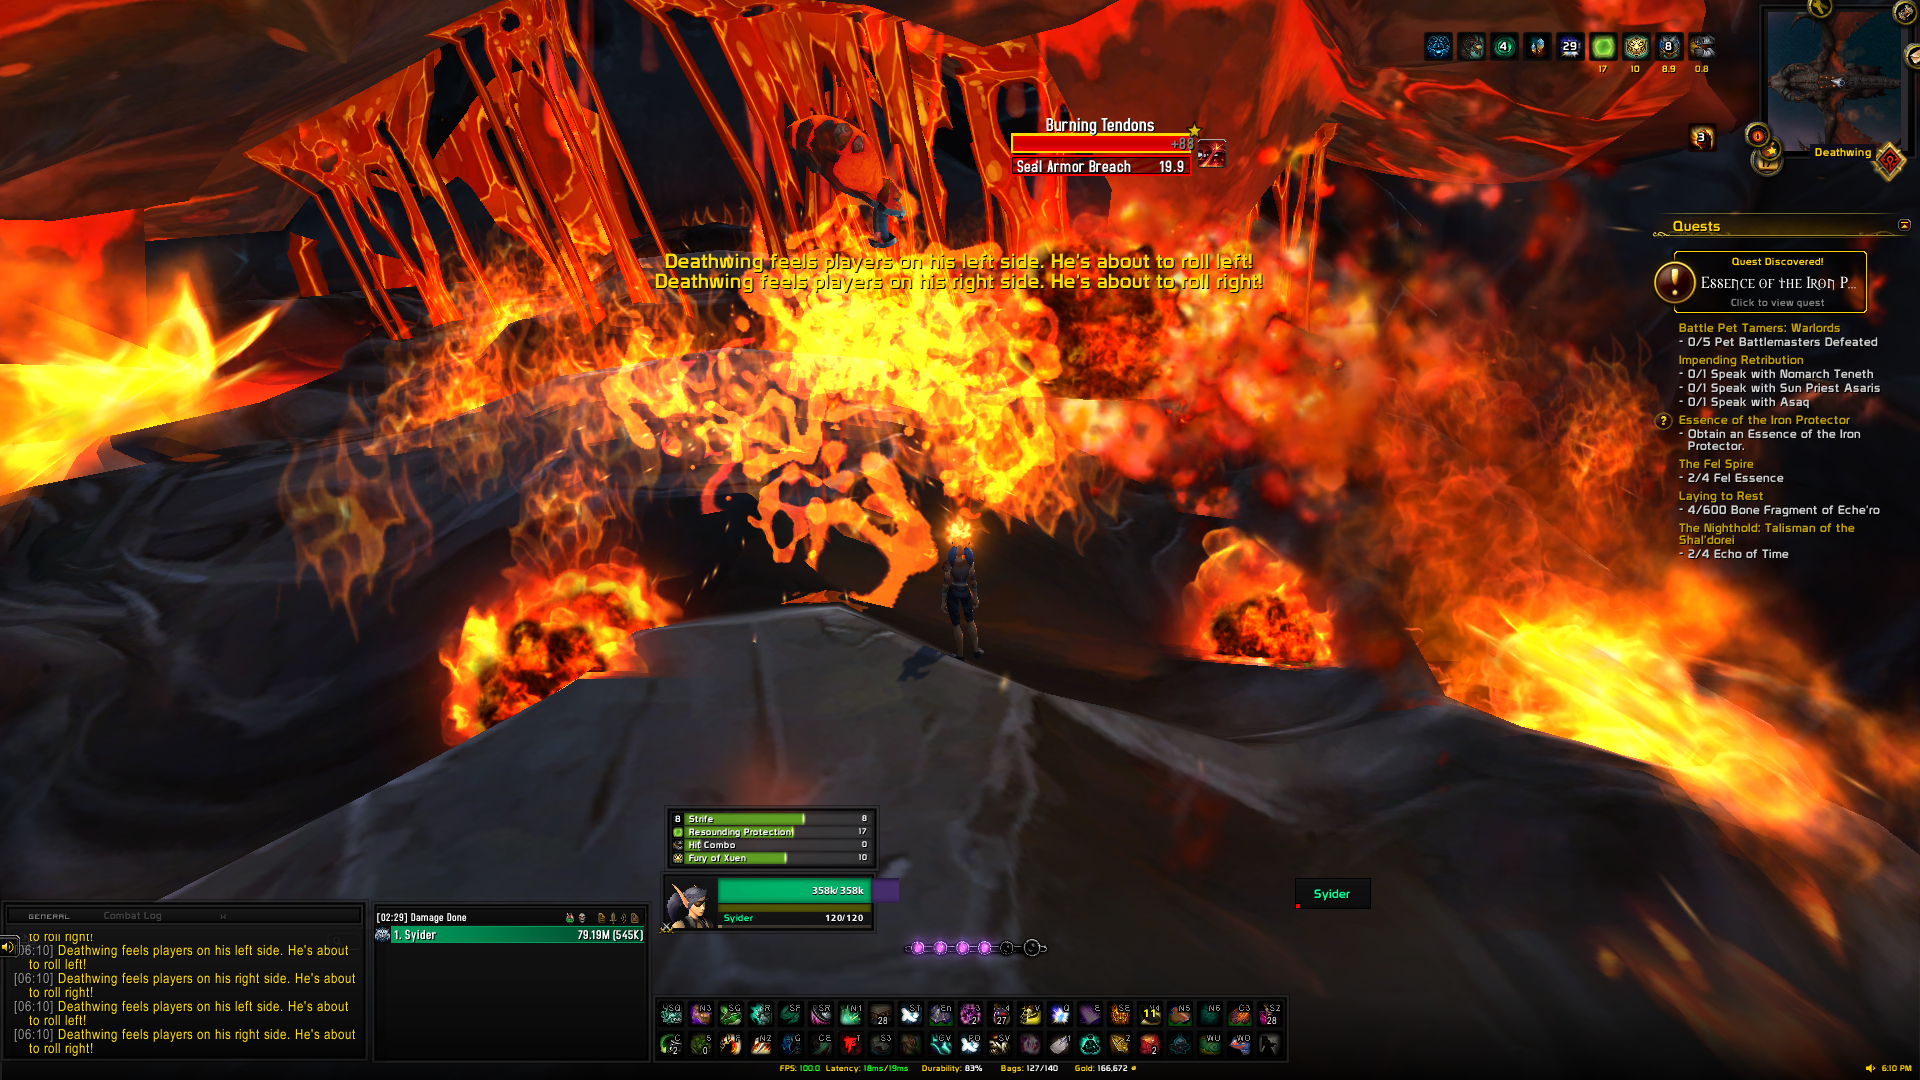
After you are done with Blackhorn, speak to that NPC once more to begin Spine of Deathwing. This is where things get a bit more tricky. Your goal is to get a Hideous Amalgamation to reach the Superheated state. To achieve this you must defeated 9 or more Corrupted Bloods and have the Amalgamation run over their corpse which will gain it a stacking debuff, at 9 stacks it will become a Superheated Nucleus.

Once at this state you then want to kill it next to Deathwings armor plate, this will cause the plate to break off slightly allowing you to defeat the Burning Tendons that lie beneath, when these are defeated the plate will be completely remove. Repeat this three times to complete the encounter.
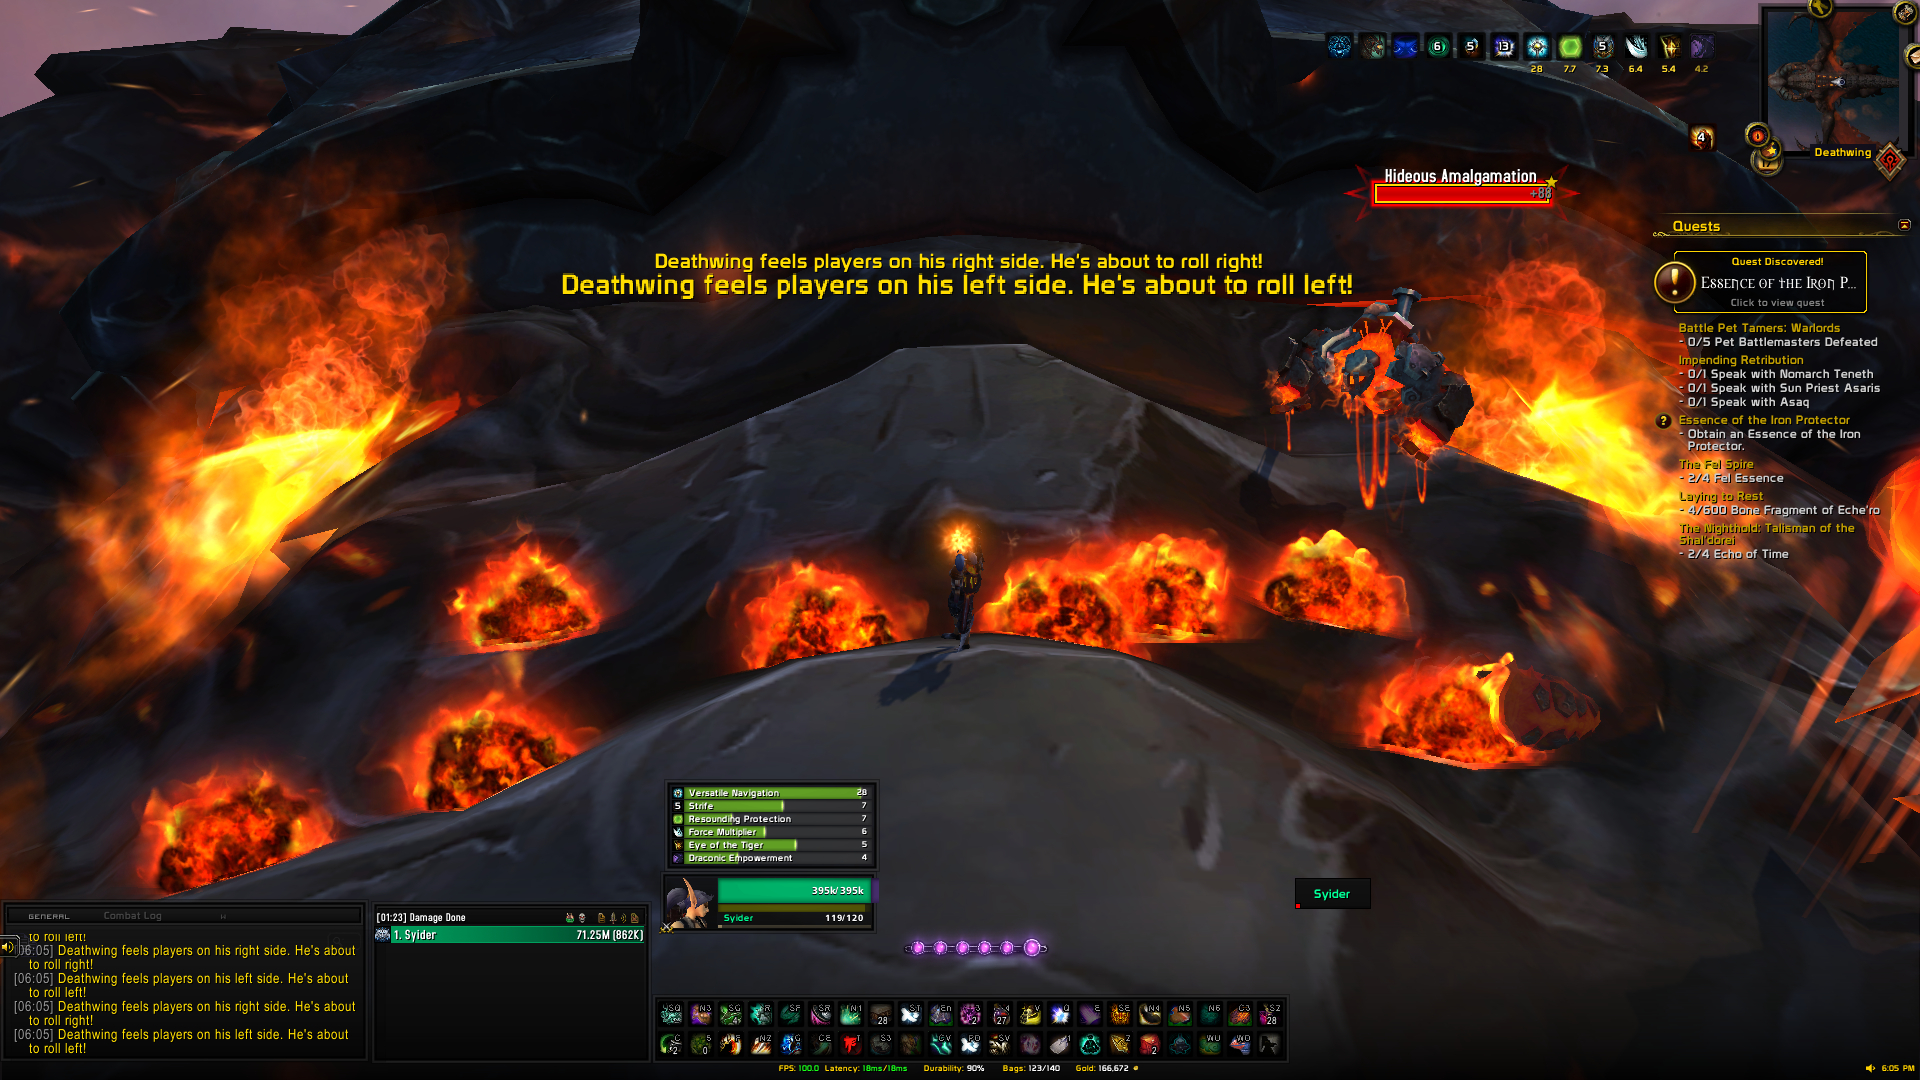
The thing that makes this fight tricky however is Deathwing will attempt to roll you off of his body if you stand on one side for too long. Being rolled off will instantly kill you.
My strategy for this fight is to kill 3 of the 4 Grasping Tendrils. Then stand in the hole where a Grasping Tendril was, this will cause Deathwing to roll but you will be safe when standing in this hole.
After he has rolled I recommend to stand in the center of his body and move left and right continuously, this will cause him to attempt to roll left or right but due to you moving so much he will never actually finish the roll.
Repeat this until you have had nine or more Corrupted Bloods spawn and defeated them.
Once you have enough then kill the Grasping Tendril to spawn a Hideous Amalgamation, run it over the corpses while keeping in mind about Deathwings rolling. Once it has 9 stacks kill it next to the armored plate, it will explode, allowing you to kill the Burning Tendon. Repeat this for the next 2 plates.
If you want to see a video guide on this, then I created one a while ago which is still relevant today – https://www.youtube.com/watch?v=rt4M2p1BMO8
Now that Spine is defeated, you are onto the final boss Madness of Deathwing. This fight is once again trivial. Speak with Thrall multiple times to get the boss to engage, defeat his various limbs and then his head to finish the fight.
Once done loot the crimson chin piece to have a chance at looting the Blazing Drake. If you did this fight on Heroic, you also have a chance of getting the Life-binders Handmaiden from this chest also.
Extra Tips: Since you can only clear the raid once per week per character, run the raid on your alts to have more than one chance per week.